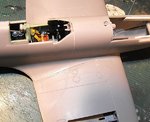
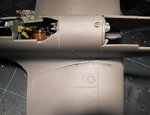
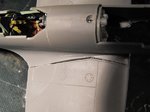
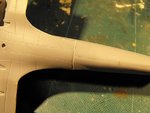
Crimea_River
Marshal
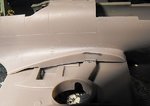
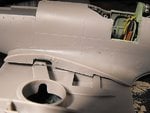
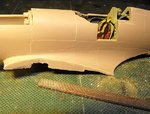
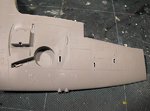
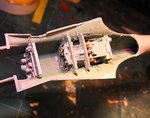
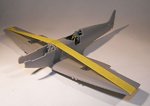
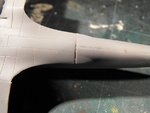
Sounds like good weather for modelling!
Follow along with the video below to see how to install our site as a web app on your home screen.
Note: This feature may not be available in some browsers.
Ad: This forum contains affiliate links to products on Amazon and eBay. More information in Terms and rules

")
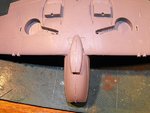
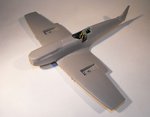
I've also lost stuff I was about to post. Now as a safety precaution I highlight and right click "copy" before I post it. That way if it gets lost I can just paste it back in the text field and try again. Some tines with real long posts I do the original in Word and copy it to the text box.I don't bl**dy believe it! I just finished typing a whole post on the progress, clicked the 'Go Advanced' button to start posting the pics, and the bl**dy thing yet again flashed the 'Can't find the page' message, and effed off with the whole bl**dy lot!! This is doing my shed in!