- Thread starter
- #41
lesofprimus
Brigadier General
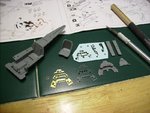
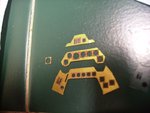
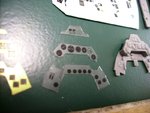
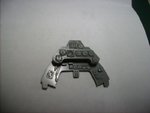
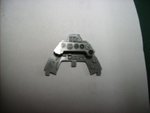
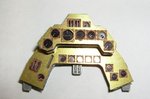
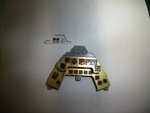
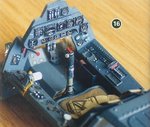
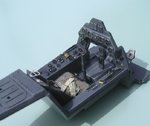
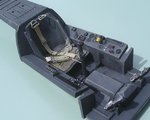
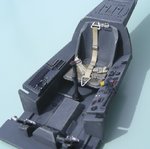
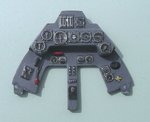
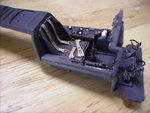
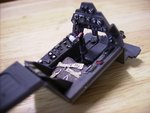
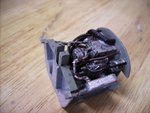
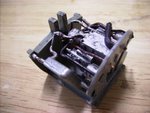
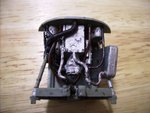
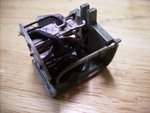
Thanks for those 2 links Lucky, very helpful to someone whose never seen PE before...
Follow along with the video below to see how to install our site as a web app on your home screen.
Note: This feature may not be available in some browsers.
Ad: This forum contains affiliate links to products on Amazon and eBay. More information in Terms and rules
")
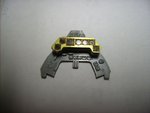
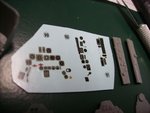
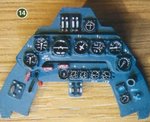
I freakin thought it was retarded to apply the PE over the raised dials.... It just didnt seem right.... I dont have the capability to remove the raised dials, no dremel tool.... Sand em off??you need to remove all the raised detail for a flat surface to adhere to.