deckape
Staff Sergeant
Ahoy fellas
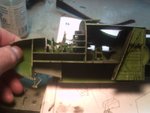
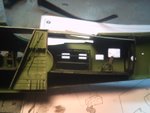
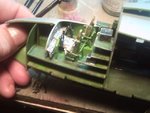
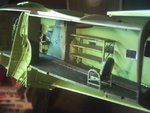
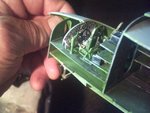
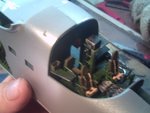
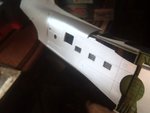
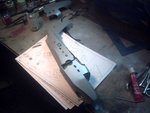
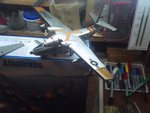
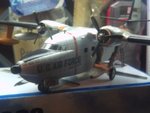
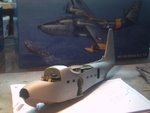
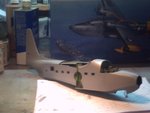
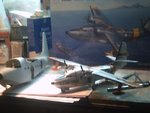
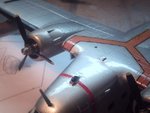
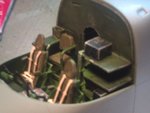
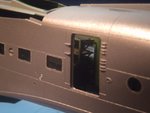
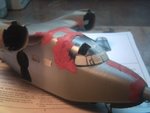
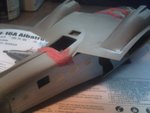
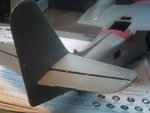
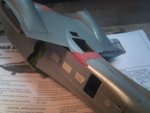
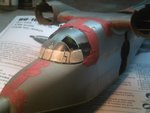
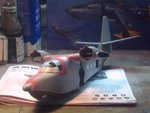
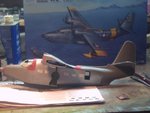
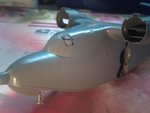
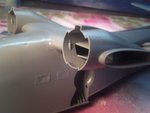
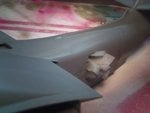
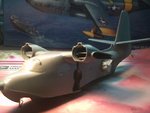
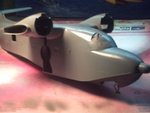
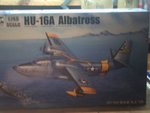
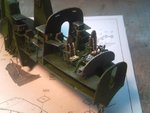
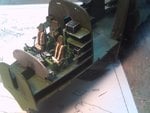
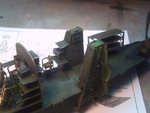
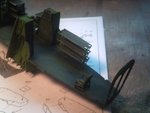
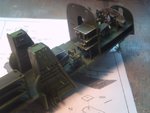
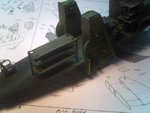
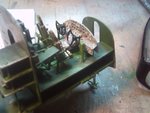
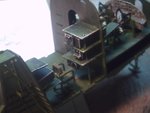
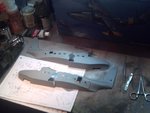
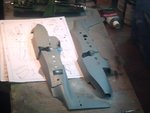
I have a new build here I just got started on this is the new Trumpeter HU-16A Albatross in 1/;48 scale a beast of a model it is...... This build will keep me busy until the next Group build gets started.. Okay back to the kit.I ventured to my hobbyshop to check out any new plastic a lot has been seen that I have never seen before they just keep whipping out these kits now days. I ran into this trumpeter kit just newly released when I seen the price of this kit I bowed my head in whoa $135.00 it was marked down to $99.99 a little relief but not much. IO went and bought it only hoping mama don't blow a fuse when I come home with it. Mama didn,t get steamed so all cleared for building. When opening the kit ?I was welcomed by 15 sprues rubber tires and photo etched parts which is the norm on these trumpeter kits.. The fuselage comes in four sections two left and two right, the detail is amazing you can almost shrink down and climb aboard. the fit of parts are excellent the kit also comes with metal landing gear there also is plastic ones on the sprues. I elected the metal for added strength its a heavy model. kit comes with two sets of decal 1. US,AIRFORCE. 2. Chinese Navy I am doing the Korean war bird all aluminum My only beef is that on the devcal sheet they do give you the yellow Y walkway on the top of the wing these is a decal company making this decal as I type this new thread. So if any great fellas buy one of these you might want to wait until the decal comes out.. If not and want the challenge go ahead and masked down the walkway and paint same also you will have to do the tail band the same way. Here are some of the interior parts that I just completed . The interior was painted zinc chromate green some Albatross had there interior painted dark gull gray, its optional the instruction sheet failed to show the paint schedule for seats radio and electronic boxes. They only show the flight deck being painted zinc chromate green.. I went and painted mine Zinc chromate green when the green dried I gave it a wash of black and a wash of light gray. The only photo etched parts that are added to the interior is the pilots seat belts there also is a decal that fit in place of the dial consol. much more to go. Here is the build .
Boats
Attachments
-
 PICT0001.JPG37.6 KB · Views: 251
 -
 PICT0002.JPG47.5 KB · Views: 248
 -
 PICT0003.JPG44.8 KB · Views: 245
 -
 PICT0004.JPG42.1 KB · Views: 241
 -
 PICT0005.JPG39.6 KB · Views: 237
 -
 PICT0006.JPG42 KB · Views: 252
 -
 PICT0007.JPG40.9 KB · Views: 246
 -
 PICT0008.JPG51.6 KB · Views: 250
 -
 PICT0009.JPG36.9 KB · Views: 253
 -
 PICT0010.JPG44.3 KB · Views: 255
 -
 PICT0011.JPG43.1 KB · Views: 247