ccheese
Member In Perpetuity
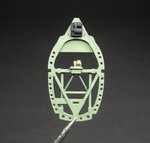
Whew....
Charles
Charles
Follow along with the video below to see how to install our site as a web app on your home screen.
Note: This feature may not be available in some browsers.
Ad: This forum contains affiliate links to products on Amazon and eBay. More information in Terms and rules
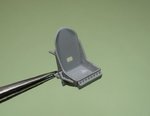
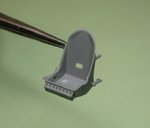
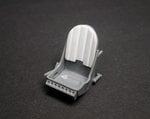
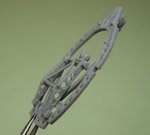
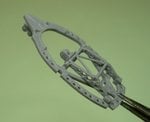
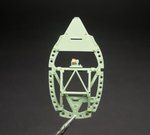
Great job on the padding Wayne. Note though that this was a 'slip on' item, with a 'sleeve' which slipped over the back of the seat. This can be done by adding a paper sleeve, or by blending the edges and painting, but no doubt you'll do the job without problem.
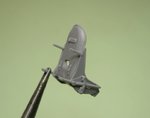
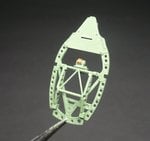
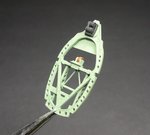
And yes, the wooden block flare rack had normally gone by this time; it's probable that Tamiya used a restored example on which to base their kit design, which might have had the rack erroneously fitted, not uncommon on some restorations.