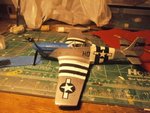
Good work there H, you're coming on nicely. One thing though, didn't Cripes III only have the AEAF stripes on the lower fuselage and sides? You can still paint over the top part if needed, and the upper wing stripes would have been removed too. Unless you make it pre late August 1944.
Oh this wouldn't be the one of Christmas day. Christmas day was the D-15 flown by Preddy after he was moved to the 428th FG and had a red rudder for the unit identification. Also it would have no black bar on the tail and only be called Cripes a Mighty. Trying to remember the name of the man who received his P-51.......it was renamed "The Margarets."
He only had Cripes a Mighty 3rd for a few months before he left on a US bond tour...
OK. Just that the profile shown in an earlier part of this thread, show Cripes III without the stripes on the upper fuselage, so I thought it was that one you were doing.
For the P-51B was the radio mounted directly behind the pilots head or farther back? Tamiya has their right behind and Revell has there's farther back in the cockpit.
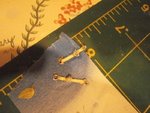
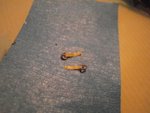
I did the cut the decals out. Need to do the rest I found the best method is cutting the decal out (Like Andy said in separate thread) and making it octagonal but then I used a tweezer dipped in warm water and put a drop on the decal (Stops the chance of dropping the decal of falling into the water.) Then pick the decal up with your CLEAN tweezer or poke it so its on the end. then place it and remove excess water with a folded tissue and dab it. It looks great from my end my photography does no justice.
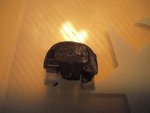
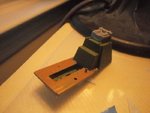
Then the seatbelts attatched, lap belts made, and the pit so far...