A4K
Brigadier General
Great work Peter!
Follow along with the video below to see how to install our site as a web app on your home screen.
Note: This feature may not be available in some browsers.
Ad: This forum contains affiliate links to products on Amazon and eBay. More information in Terms and rules
Cheers Wayne and Bill
Mr Little is the one for setting benchmarks, I just fumble along!Your thinking ahead anyway Bill, that one doesn't start to November, in the meantime what are you going to pull out for the aces build?
Cheers Peter
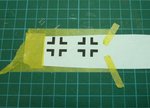


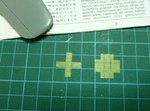
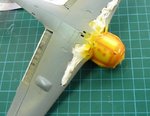
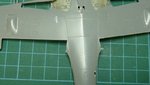
looks great Peter, is there a reason your painting the crosses and not useing decals ?