vikingBerserker
Lieutenant General
Not bad at all!
Follow along with the video below to see how to install our site as a web app on your home screen.
Note: This feature may not be available in some browsers.
Ad: This forum contains affiliate links to products on Amazon and eBay. More information in Terms and rules
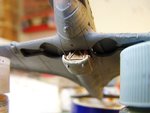
Looking very very nice. What are your fears and doubts about this build ?
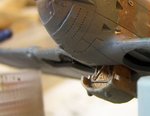
At the sides, im not sure. Im inclined to keep the exposed sides the same colour as the underside grey that I already have painted them . Photos Ive seen dont show anythig shiny or unusual about these elements (at the side)
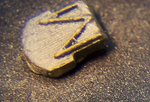
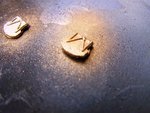
Some of that detail is not shown in the Hasegawa kit, but I think it can be extemporised pretty easily
famous last words perhaps.
")