Airframes
Benevolens Magister
Isn't this forum just brilliant??!! I love the way everyone helps each other - pity the rest of the World's communities aren't like us!
Follow along with the video below to see how to install our site as a web app on your home screen.
Note: This feature may not be available in some browsers.
Ad: This forum contains affiliate links to products on Amazon and eBay. More information in Terms and rules
")
Thanks Wayne.
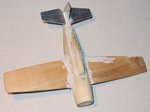
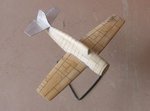
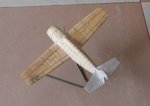
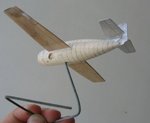
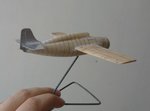
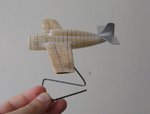
This is my first model which I build with international help. Better do it right then...