Crimea_River
Marshal
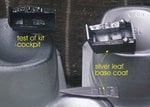
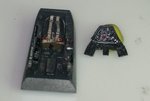
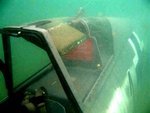
Nicely done Bill. And yes, the guns would not have done a Marty Feldman.
Follow along with the video below to see how to install our site as a web app on your home screen.
Note: This feature may not be available in some browsers.
Ad: This forum contains affiliate links to products on Amazon and eBay. More information in Terms and rules

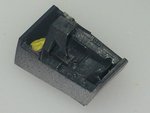
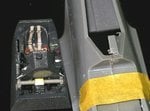
Doing good Bill, all you need now is some little fingers, sharp eyes and a steady hand and bobs your uncle, canopy and PE become one.