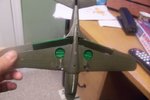
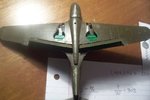
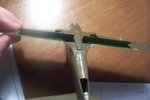
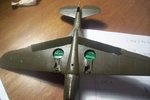
Looking really very nice.The next step is the second flap mounting.You have to follow the same path we usd for the first one.It shouldn't be difficult for you as you got the training.
Later paint these inner areas where the holes and wires are seen with the green colour.Use for that a very thin brush numbered "000" or so.
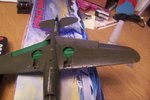
Looking great. : But the current one should be put closer to the wing edge ( you noticed it I'm sure.) Also you should remember about the same angel of opening for both flaps.Symmetry, symmetry Harry.
Oh... and another thought. From now try to put the model away with the undersides up.It will prevent these flaps against being broken down. When you attach landing gears you can put the model normally.
Sorry. I was doing math homework and that's the sheet below. Um, my dad needs the card reader to post somethings on Ebay. So I can't post pictures anymore.





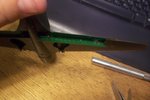

 wurger
 but nice.THX.


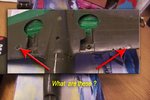
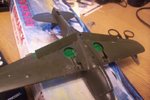
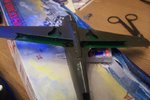
 But the current one should be put closer to the wing edge ( you noticed it I'm sure.) Also you should remember about the same angel of opening for both flaps.Symmetry, symmetry Harry.