Hi All: I'm very impressed with the knowledge base of contributors to this website! I am looking for a little technical info on a project I am going to be starting on.
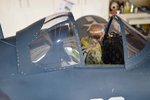
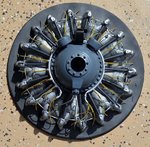
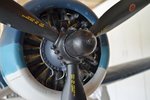
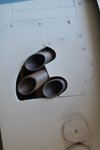
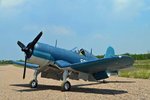
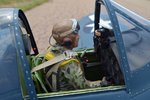
I am going to redo a 1/6 scale rc Corsair kit to be a hanging model of the plane flown by posthumously awarded Medal of Honor recipient Lt. Bob Hanson during WWII.
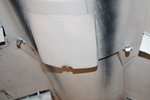
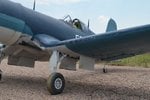
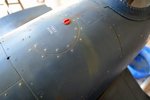
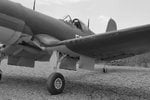
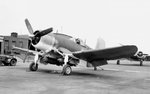
I have few drawings of his plane (no photos yet) but have enough to do a fairly accurate representation of his aircraft. The one thing I am not certain of is whether the tailhook was removed for weight, due to the fact they were flying off of an islland, and not an aircraft carrier. If anyone has a good guess or photos of other aircraft from his squadron with them attached or no, that would be very helpful information.
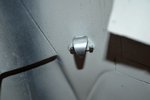
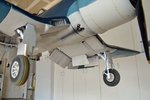
Also, just out of curiosity, if anyone could explain to me how the hook was lowered or raised into position for catching the cable on the carrier, that would be great. Was it electric, hydraulic, manual lever? Just curious.
Regards,
davegee
I am going to redo a 1/6 scale rc Corsair kit to be a hanging model of the plane flown by posthumously awarded Medal of Honor recipient Lt. Bob Hanson during WWII.
I have few drawings of his plane (no photos yet) but have enough to do a fairly accurate representation of his aircraft. The one thing I am not certain of is whether the tailhook was removed for weight, due to the fact they were flying off of an islland, and not an aircraft carrier. If anyone has a good guess or photos of other aircraft from his squadron with them attached or no, that would be very helpful information.
Also, just out of curiosity, if anyone could explain to me how the hook was lowered or raised into position for catching the cable on the carrier, that would be great. Was it electric, hydraulic, manual lever? Just curious.
Regards,
davegee


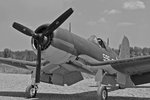
 That looks real in the b&w photo.