Airframes
Benevolens Magister
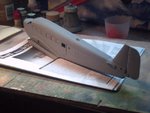
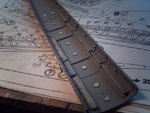
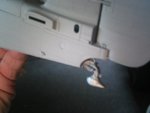
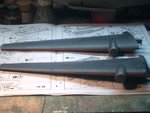
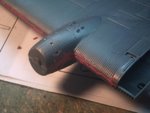
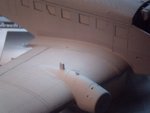
Nice work there Boats, and what a nice kit too.
Follow along with the video below to see how to install our site as a web app on your home screen.
Note: This feature may not be available in some browsers.
Ad: This forum contains affiliate links to products on Amazon and eBay. More information in Terms and rules
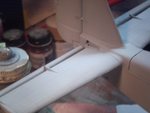
Nice work there Boats, and what a nice kit too.
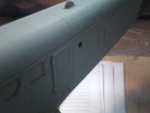
Beautiful work Boats!
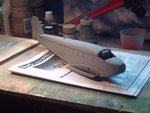
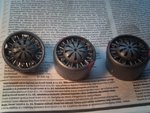
It's a great kit Terry, highly recommend it!

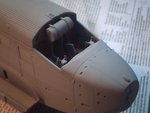
I'm sorry for not involving into this build from the beginning... fabolous build so far...
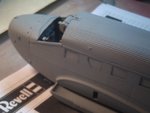
When I see beauty like this plane I just start to woned how will be nice that today airplanes looks like this Ju-52, for me classic of all commercial airplanes
Great work, good luck for further
Roman