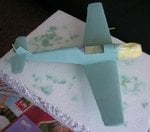
Airfix 1/24 scale Bf109E.....or a bed of thorns

Ad: This forum contains affiliate links to products on Amazon and eBay. More information in Terms and rules

The Polish vodka... hoo, hoo, hoo...I like that. :D Where do you live Jasiu? :lol:

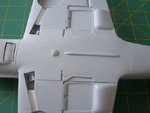
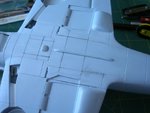
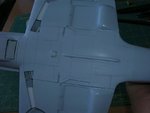
The underside of the fuselage next to wings appeared to be "bald". And I had to engrave a few panel lines there. I addition I made couple of rivet lines as well.
 

Attachments

  • b1.jpg
    b1.jpg
    74.3 KB · Views: 261
  • b2.jpg
    b2.jpg
    80 KB · Views: 269
  • b3.jpg
    b3.jpg
    77.4 KB · Views: 264
Fantastic work! Those 'castellated' joints are incredible !
Thanks for the pics my friend, extremely useful. I re-checked my own pis of the RAF museum '109E, and it's the same - the notch only on the port side.
BTW, Jan meant one barrel of Guinness !!
 
Some nice catches there Wojtek on the triangle piece and the rad port ;).I might of most likely would of missed that tri piece really a good catch made it look correct when finished.Cheers Kevin
 
All good Colin as ever just floating around the interweb... a pleasure to pop in and see Wojtek's fine work.


He needs to do an Me 410 though...... :D
 
Last edited:
Bloody hell fella
we don't see you around much these days, or have I just not been on at the same time as you? How's tricks?

That's it, I'm in trouble with Wotjek for hijacking his thread again... :)

It's starting to look like this thread is the local frickk'in water hole :lol::lol:
 
Five pints is nothing comparing to a brewery.So I like the idea of buying that. Colin... go ahead....:lol:

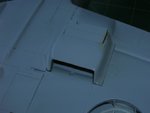
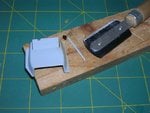
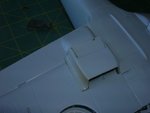
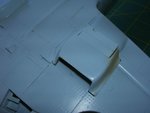
I had checked fitting of the underwing radiators before I started painting.And....these didn't fit properly. The starboard appered too wide and couldn't get its seat at all. The port one was too wide too but just a little bit. I think the reason for that was too tight gluing of the fuselage and wings.But the gap between these parts would be larger then. Anyway I sanded one of side edges of the port radiator box a little bit down and it went into its slot with no problem. But the starboard one had to be cut with the saw about 0.5mm down. Then it fit corectly.
 

Attachments

  • wr4.jpg
    wr4.jpg
    58.8 KB · Views: 251
  • wr3.jpg
    wr3.jpg
    104.5 KB · Views: 251
  • wr2.jpg
    wr2.jpg
    64 KB · Views: 254
  • wr1.jpg
    wr1.jpg
    68.9 KB · Views: 255
THX Mates....:D

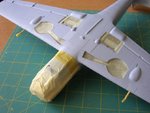
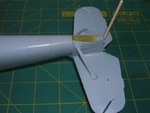
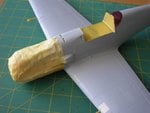
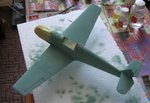
The next step ....had been masking before applying the first camo colour. Because RLM65 was the first one I applied it overall twice.The first layer was darker than the second one. The second coat was made lighter with a white paint and applied at the top of fuselage, leading adges of all surfaces and panel centers.
 

Attachments

  • mal1.jpg
    mal1.jpg
    97 KB · Views: 253
  • mal2.jpg
    mal2.jpg
    93.6 KB · Views: 494
  • mal3.jpg
    mal3.jpg
    79 KB · Views: 501
  • mal4.jpg
    mal4.jpg
    84.4 KB · Views: 473
  • mal5.jpg
    mal5.jpg
    102.3 KB · Views: 475
  • mal5a.jpg
    mal5a.jpg
    99.3 KB · Views: 453
Last edited:

Users who are viewing this thread

Back