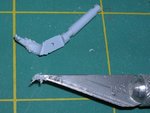
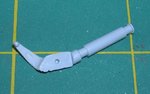
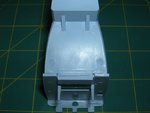
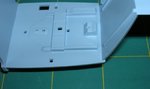
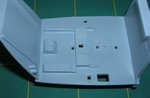
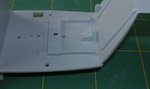
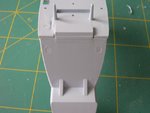
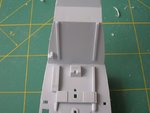
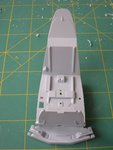
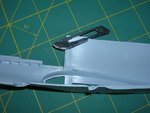
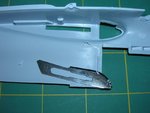
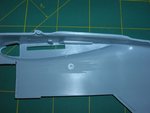
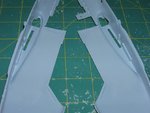
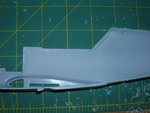
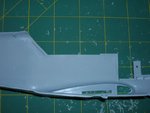
To continue... for removing of the stamp trace I used a drop of Superglue and some of plastic sawdust I gathered when scratching the engine cowling. Later I sanded the area to take a correct thickness and shape of the part.
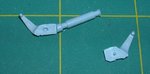
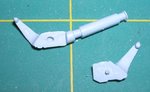
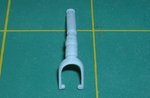
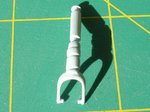
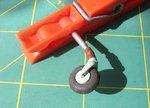
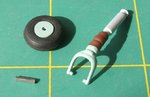
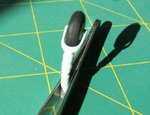
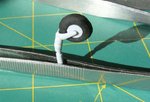
Then I have removed all overflows from both parts of the tail wheel leg.. Unfortunately the set-pin for both parts doesn't allow to set them correctly. So I made the seat of the set-pin more longer in order to have a possibility of proper fitting. The effect in pics below.
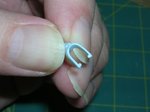
I put these halves of the wheel fork together.Unfortunately there appeared a gap between the tail wheel leg and the half of the fork..I filled the gap with some plastic using a small styrene plate and Superglue.Then cut off the plastic excess and sanded the area.
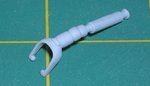
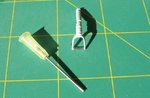
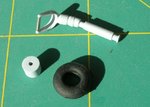
Looking at these wrist-pins of the fork , the Airfix made for rotary of the wheel. I have gotten an impression it wouldn't be enough to keep the model weight. So I got an idea of making an rotary axis. I made the 5mm long axis of an injection needle of a correct diameter.Also I used the needle for shaping of these pins. When finished the effect looked like in pics below.
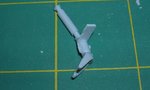
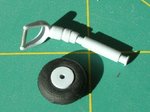
And finally I have made a dry assembling in order to check if all parts of the tail wheel fit properly. All was OK.So I painted it and put away into a box.
THX Mates. Appreciate.... Additionally the tail wheel axle was settled with Superglue at the end.
Having almost all outer details finished, I started assembling fuselage. The first step was the cockpi interior. There are four main parts comming with the kit. The cockpit floor, the front cross-section , the main landing gear seatings and the rear wall. All parts are moulded nicely except the piece with the main landing gear slots. The part needs to be cleaned. I have put all parts together.Looking at the assembled section I noticed the floor was to large at the back area comparing to the rear cross-section.
My work on the fuselage of the model has been started with removing of all irregularities and stamp traces. Initailly I was scratching both halves at the area with a scalpel blade.Then I used sandpaper of two grades.