B-17engineer
Colonel
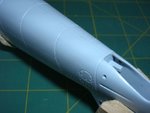
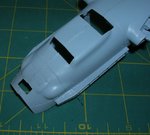
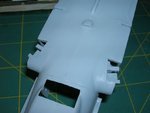
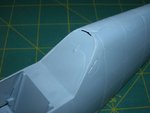
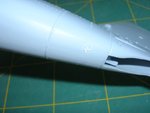
Looks great!
Follow along with the video below to see how to install our site as a web app on your home screen.
Note: This feature may not be available in some browsers.
Ad: This forum contains affiliate links to products on Amazon and eBay. More information in Terms and rules
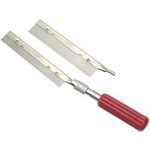
Very nice work Wojtek. I like the tail wheel axle especially. What is the best way to cut the hypodermic needle tubes? I was going to use my razor saw, but don't want to spoil the blade.
I use a needle file to score the needle where I want it cut and then use my hobby saw (not razor saw) for most of the cutting. I hold the needle and draw it over the blade rather than putting the needle in a vise (which I don't own anyway). After you cut the piece you want you will still probably need to do a little bit of filing at the end.
I tried using wire cutters but it ended up crimping the tube.
What is the best way to cut the hypodermic needle tubes?