Still having lots of fun I see....
Navigation
Install the app
How to install the app on iOS
Follow along with the video below to see how to install our site as a web app on your home screen.
Note: This feature may not be available in some browsers.
More options
You are using an out of date browser. It may not display this or other websites correctly.
You should upgrade or use an alternative browser.
You should upgrade or use an alternative browser.
Airfix 1/24 scale Bf109E.....or a bed of thorns (1 Viewer)
- Thread starter Wurger
- Start date
Ad: This forum contains affiliate links to products on Amazon and eBay. More information in Terms and rules
More options
Who Replied?- Thread starter
- #162
Yep...
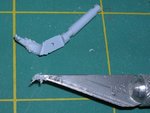
To continue... for removing of the stamp trace I used a drop of Superglue and some of plastic sawdust I gathered when scratching the engine cowling. Later I sanded the area to take a correct thickness and shape of the part.
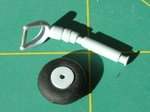
Then I have removed all overflows from both parts of the tail wheel leg.. Unfortunately the set-pin for both parts doesn't allow to set them correctly. So I made the seat of the set-pin more longer in order to have a possibility of proper fitting. The effect in pics below.
Attachments
- Thread starter
- #163
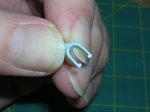
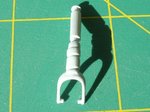
I put these halves of the wheel fork together.Unfortunately there appeared a gap between the tail wheel leg and the half of the fork..I filled the gap with some plastic using a small styrene plate and Superglue.Then cut off the plastic excess and sanded the area.
Attachments
great work Wojtek
vikingBerserker
Lieutenant General
....and you make it look so easy too. Nicely done!
Airframes
Benevolens Magister
Neat work my friend !
- Thread starter
- #167
THX Gents...
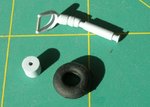
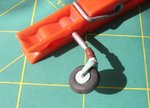
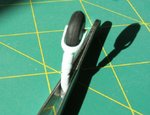
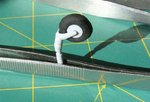
Looking at these wrist-pins of the fork , the Airfix made for rotary of the wheel. I have gotten an impression it wouldn't be enough to keep the model weight. So I got an idea of making an rotary axis. I made the 5mm long axis of an injection needle of a correct diameter.Also I used the needle for shaping of these pins. When finished the effect looked like in pics below.
Looking at these wrist-pins of the fork , the Airfix made for rotary of the wheel. I have gotten an impression it wouldn't be enough to keep the model weight. So I got an idea of making an rotary axis. I made the 5mm long axis of an injection needle of a correct diameter.Also I used the needle for shaping of these pins. When finished the effect looked like in pics below.
Attachments
vikingBerserker
Lieutenant General
Dam....


very clever
- Thread starter
- #170
A4K
Brigadier General
Great work Wojtek!
Lucky13
Forum Mascot
Fantastic work Wojtek, my friend! 

- Thread starter
- #173
THX Mates. Appreciate.... Additionally the tail wheel axle was settled with Superglue at the end.
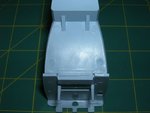
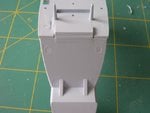
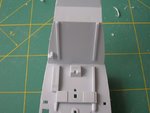
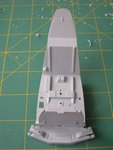
Having almost all outer details finished, I started assembling fuselage. The first step was the cockpi interior. There are four main parts comming with the kit. The cockpit floor, the front cross-section , the main landing gear seatings and the rear wall. All parts are moulded nicely except the piece with the main landing gear slots. The part needs to be cleaned. I have put all parts together.Looking at the assembled section I noticed the floor was to large at the back area comparing to the rear cross-section.
Having almost all outer details finished, I started assembling fuselage. The first step was the cockpi interior. There are four main parts comming with the kit. The cockpit floor, the front cross-section , the main landing gear seatings and the rear wall. All parts are moulded nicely except the piece with the main landing gear slots. The part needs to be cleaned. I have put all parts together.Looking at the assembled section I noticed the floor was to large at the back area comparing to the rear cross-section.
Attachments
Last edited:
Vic Balshaw
Major General
Good stiff Wojetk. Every post you make is an education in modelling.
- Thread starter
- #175
Lucky13
Forum Mascot
Excellent! Keep at it old boy!
- Thread starter
- #177
Thank you Pal. 
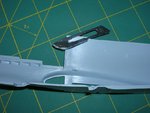
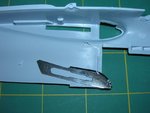
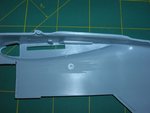
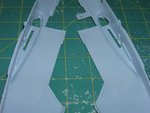
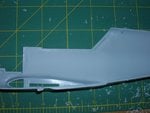
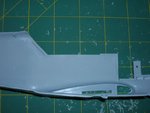
My work on the fuselage of the model has been started with removing of all irregularities and stamp traces. Initailly I was scratching both halves at the area with a scalpel blade.Then I used sandpaper of two grades.
My work on the fuselage of the model has been started with removing of all irregularities and stamp traces. Initailly I was scratching both halves at the area with a scalpel blade.Then I used sandpaper of two grades.
Attachments
109ROAMING
2nd Lieutenant
Nice build Wojtek! 
B-17engineer
Colonel
Great job Wojtek!!
- Thread starter
- #180
Users who are viewing this thread
Total: 2 (members: 0, guests: 2)

