Vic Balshaw
Major General
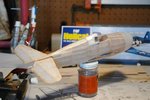
Doing good Charles.
Follow along with the video below to see how to install our site as a web app on your home screen.
Note: This feature may not be available in some browsers.
Ad: This forum contains affiliate links to products on Amazon and eBay. More information in Terms and rules
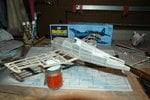
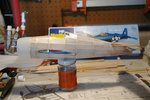
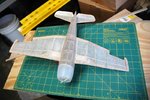
Like the look of it, Charles

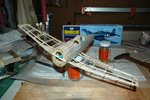
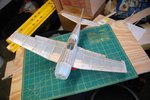
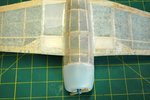
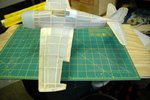
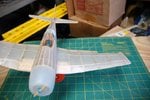
 and raise it one more
 Nice job Charles. I'm thinking that I need to try one of these balsa and tissue planes in the future.