ccheese
Member In Perpetuity
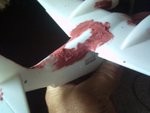
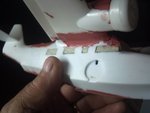
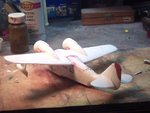
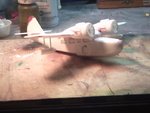
Bravo Zulu, Boats. You need to get into the Group Builds (GB's).
Charles
Charles
Follow along with the video below to see how to install our site as a web app on your home screen.
Note: This feature may not be available in some browsers.
Ad: This forum contains affiliate links to products on Amazon and eBay. More information in Terms and rules
Are you going to add "Jake" the one-eyed dog?
That would be cool!