- Thread starter
- #41
ozhawk40
Master Sergeant
That's a great link Flexibull! Heaps of photos, and not just p-40's either. Well worth a visit.
Cheers
Cheers
Follow along with the video below to see how to install our site as a web app on your home screen.
Note: This feature may not be available in some browsers.
Ad: This forum contains affiliate links to products on Amazon and eBay. More information in Terms and rules
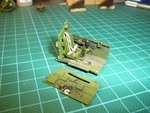
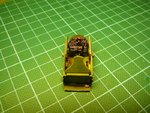
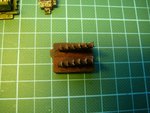
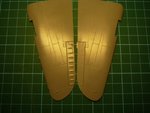
The fabric detail on these kits are a bit (well okay, a lot) exaggerated on the ailerons, rudder and stabilizers. Since this model, the -40, had metal ailerons the detail needs to be removed. I'll do similar for the other control surfaces, but less.
Cheers
Ozhawk40
 8)
8)