Screaming Eagle
Senior Master Sergeant
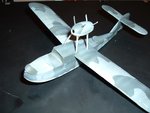
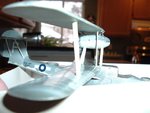
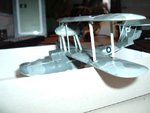
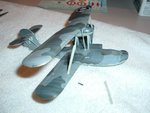
very nice matt!
Follow along with the video below to see how to install our site as a web app on your home screen.
Note: This feature may not be available in some browsers.
Ad: This forum contains affiliate links to products on Amazon and eBay. More information in Terms and rules
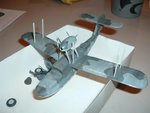
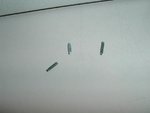
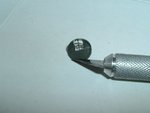
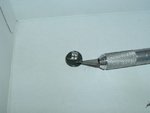
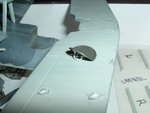
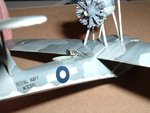
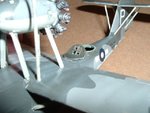
 The second pic shows the remaining engine strut literally hanging by a glue thread.
 Thats it Matt you show that F**ker whose boss !
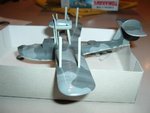
Looks bloody good from where I'm sitting

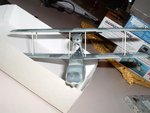
 I use regular masking tape on my models...prolly why they look like crap. >.>