lesofprimus
Brigadier General
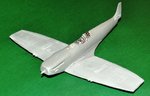
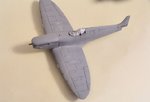
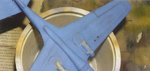
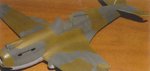
Real nice work for a first time job Lee.... The detail came out quite well....
Follow along with the video below to see how to install our site as a web app on your home screen.
Note: This feature may not be available in some browsers.
Ad: This forum contains affiliate links to products on Amazon and eBay. More information in Terms and rules

 the dark side gave me a touch of the giddy ups I await you instructions
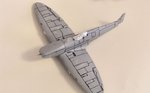
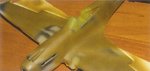
 Looks great so far Lee.... Are u using an airbrush for the camo??? If so, I would not recommend using tape to mask the demarcation lines... It looks too sharp...
If u have any post its layin around, these might do the trick if ur using an airbrush... Use the sticky part to hold it down and cut the paper part quite short, so when u spray the paint, it feathers slightly under the paper part and stops at the sticky edge.... Will make it look slightly more realistic....