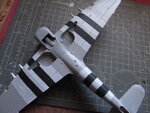
**** DONE: GB-49 1/48 Hawker Typhoon 1B - Favorite A/C of WWII

Ad: This forum contains affiliate links to products on Amazon and eBay. More information in Terms and rules

Jock Tamson

Staff Sergeant
929
673
Jan 14, 2019
Scotland
User name: Jock Tamson
Name: Greg
Category: Intermediate
Kit: Italieri/Hasegawa Hawker Typhoon 1B
Scale:1/48
Extras: None - OOTB

Hello again.

Having completed the Defiant i thought i would enter the second part of the GB with a favorite WW2 aircraft type - The Hawker Typhoon.

I have always liked the "Tiffy" and this one will be in its well known D-Day markings complete with invasion stripes and rockets.

Looking to get started shortly.

Thanks for looking, Cheers Greg

IMG_3853.JPG
IMG_3854.JPG
 
Last edited:
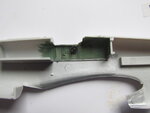
Good stuff Greg. I see they still have those gosh darn furlushinger inserts
Yeah, I guess that's them using the "car door" variant moulds for the bubbletop. Dry fit earlier today shows they are not a clean fit. Did you attach yours before or after you joined the fuselage?
 
Thanks for the heads up gents👍 looks like I have a bit of work to do. I'm off to do some test fitting.
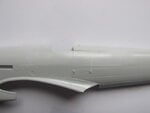
I attached them before but the fit was still a wee bit off. I also needed a bit of plastic on the fuselage in front of the windscreen. I believe this is still the best way to go about it
Same issue here but worse. One of my inserts was twisted and so I had to deal with that too.

View attachment 614375
 
Many thanks for all your comments folks!

I have been beavering away with this one, and had a look over George and Andy's builds in one of the earlier GB's, which were very helpful. You guys set the bar high, and if mine turns out half as good i'll be happy.

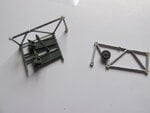
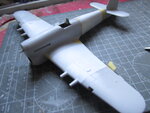
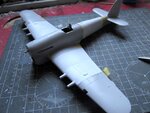
The kit as noted by others is not shake n bake as i kind of expected with it being Hasegawa. Not that it has been a chore to build. Still enjoyable but needs a bit of care and attention. The cockpit cage caused me a bit of bother as when it was dry fitted the frame was twisted and i just could not work out why that was happening. Eventually i fitted half to one side of the fuse and the other side separately to the other half. It kind of worked out .

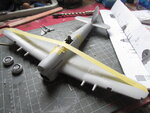
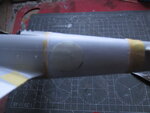
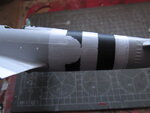
So far i have the main components assembled and am in the process of doing the invasion stripes, which come as decals in the kit, but i will just be using as guides for paintwork.

Thanks for looking, cheers Greg


IMG_3855.JPGIMG_3856.JPGIMG_3857.JPGIMG_3858.JPGIMG_3859.JPGIMG_3860.JPGIMG_3861.JPGIMG_3862.JPG
 
Thank you for all your comments folks.

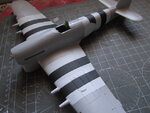
I have taken a bit of time to get the invasion stripes painted and as you will see from the photos they are done with a bit of tweaking to tidy up.

I will move on to the underside light grey next. Its all coming together now.

TFL Cheers Greg.

IMG_3863.JPGIMG_3864.JPGIMG_3865.JPGIMG_3866.JPGIMG_3867.JPGIMG_3868.JPG
 

Users who are viewing this thread

Back