A4K
Brigadier General
Great stuff Bill - love your table!!!!
Follow along with the video below to see how to install our site as a web app on your home screen.
Note: This feature may not be available in some browsers.
Ad: This forum contains affiliate links to products on Amazon and eBay. More information in Terms and rules
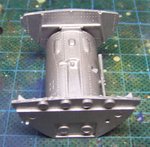
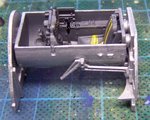
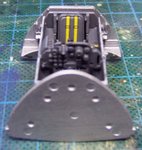
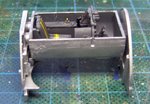
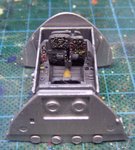
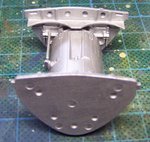
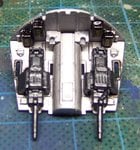
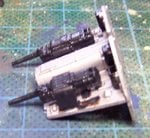
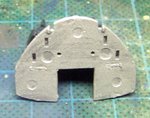
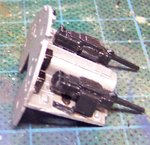
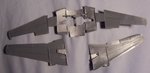
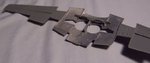
I understand about the need for pictures. I have only glued 6 pieces into 3 so far. I could take pictures of the painted pieces on the sprue. Is that what you would like?
I am still learning this group build stuff.
Bill G.