What is this internet thing people are talking about and do you think it will catch on?
Naaaaahh! won't work...

Follow along with the video below to see how to install our site as a web app on your home screen.
Note: This feature may not be available in some browsers.
Ad: This forum contains affiliate links to products on Amazon and eBay. More information in Terms and rules
What is this internet thing people are talking about and do you think it will catch on?
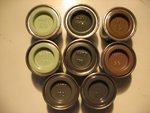
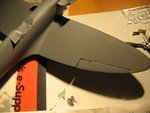
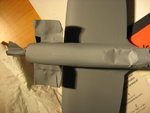
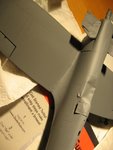
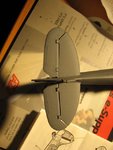
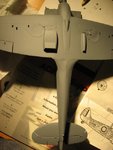
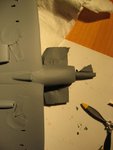
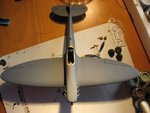
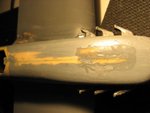
I would also like to ask for some advice on camo painting. I don't have an airbrush so I will be using brushes. Can your please explain the process.
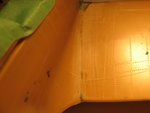
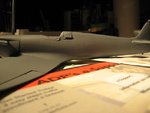
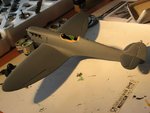
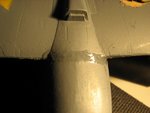
Thanks for the tips I know it looks shite now but I will make the Supermarine factory proud. Till tomorrow. Be safe all. BTW GD tail wheel