- Thread starter
- #161
Airframes
Benevolens Magister
Thanks very much John !
I did a little bit more - around four or five hours work, although not that much to show.
Those extra slipper tank hooks have been made and fitted, although I forgot to photograph them !
The 'Sky' tail band area has been sprayed and, as Xtracolor gloss enamel was used for this, it takes a long time to fully dry, so I got on with a few 'fiddly' bits on the undercarriage legs.
My apologies for the colour cast in most of the pics, a result of shooting against the green background under 60 Watt artificial light !
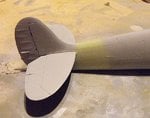
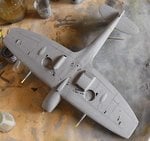
PIC 1. The 'Sky' tail band was first thinly brush-painted, to provide a base and mark the outer boundaries for the finished band, and then a further thin coat was sprayed on, for a smoother finish. Once dry, the area will be masked to create the 18 inch wide band, which is 14.2 mm in this scale.
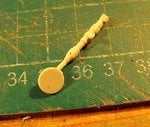
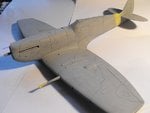
PIC 2. The undercarriage legs have had the up-lock lugs drilled out, and holes drilled to accept stretched sprue 'rods' to create the up-lock studs, and the brake nipples.
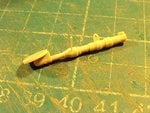
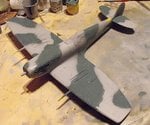
PIC 3. Adding the first rod for the brake nipples, which was cut down once set.
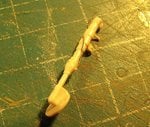
PIC 4. The first rod has been snipped off close to the leg, and rounded off to create the brake nipple. Another rod was cemented into the top of the leg, cut to length, and the end lightly scored to create the head of the up-lock stud, although it's difficult to see in this shot. The brake line was made by fitting lead wire to the nipple, which was then curved around the leg, leaving a free end which will 'disappear' into the gear leg channel once fitted to the wing.
Given I have time tomorrow (I have a lot of work to do preparing the van, tent, and other stuff for Duxford next weekend), I hope to be able to spray the Medium Sea Grey on the underside. To save drying time, and make any shading a bit easier, I've decided to use Humbrol matt enamel for this, although the remainder of the model will be finished in 'decal ready' Xtracolor gloss enamels.

