Lucke.stz
Senior Airman
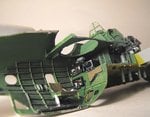
Thanks Lucke; we Avenger builders have to stick together!
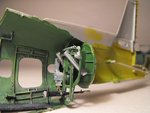
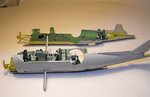
Sure ! We´ll togheter on this project !
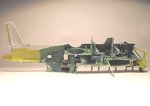
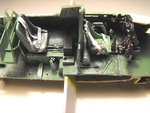
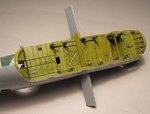
I´ll start mine on friday... are you going to builld the wings folded ?
I´m thinking in do this on my little avenger...
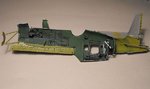
Good job !