- Thread starter
- #161
Airframes
Benevolens Magister
A bit late with the progress pics, but here we go.
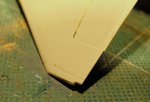
PIC 1. Spike-like static vents were fitted to the wingtips of the MiG21, and these will be added from fine stretched sprue after painting and final assembly. As the wing trailing edge on the model is so thin, I found the easiest and safest way to be able to mount the 'spikes' was to cut notches into the wing-tip trailing edges.
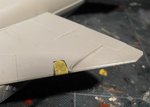
PIC 2. 'Radar Green' dielectric transponder panels are located just inboard of each wing fence, and these have been painted and masked. Navigation lights will be added later, using tinted Kristal klear.
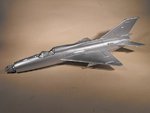
PIC 3. The model masked ready for the first stage of painting, with the fin-top RWR panel painted and masked, together with the varied tones of metal in the area of the jet exhaust, and the 'Radar Green' panel on the ventral fin. The rear of the fin-top bullet fairing was virtually impossible to mask effectively, so this will be painted after the main painting stages.
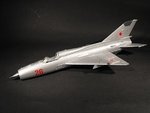
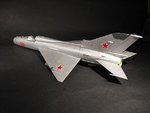
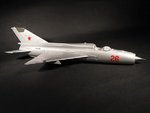
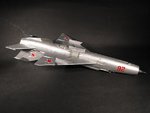
PIC 4. The first base coats have been applied. Second generation MiG 21s were not natural metal, but finished in a 'silver' coating made up of clear dope and aluminium powder, which had a satin, or semi-gloss finish. After a bit of b*gg*ring about - sorry, experimentation - this was replicated by mixing two shades of Humbrol Silver enamel, with some white added. Two thin coats have been applied so far, and this will be allowed to harden for a couple of days, before applying a further two coats, slightly lighter than the first. After a gloss clear coat for the decals, a satin clear coat will be applied. The nose intake ring will also be painted in a darker shade, and some panel lines very lightly defined, but not too much, as the aircraft was fairly new at the time depicted.
The first job though, will be to fill some very fine joint lines which still show feintly, in the area of the boundary layer bleed duct on top of the nose, and just under the air intake. This will be done using a further thin bead of PVA or gloss enamel varnish.
Once that's all done, it'll be time to work on the ejection seat and landing gear.
Thanks again for your kind comments and interest.

