**** DONE: Revell 1/48 P-40B RAF 112 Squadron in Egypt in 1941 MTO Group Build (2 Viewers)

Ad: This forum contains affiliate links to products on Amazon and eBay. More information in Terms and rules

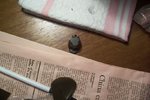
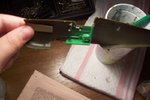
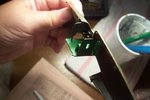
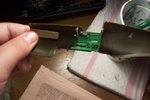
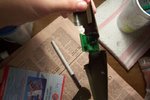
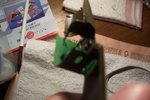
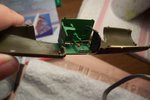
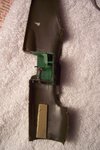
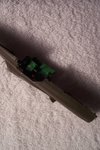
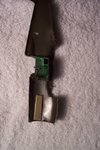
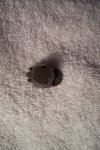
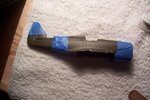
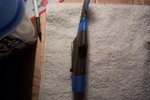
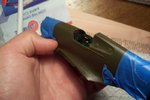
Well the cockpit got put in place today. Now I must wait for this try dry before doing the other half. The other picture is the front engine area. It's the next step so I figured I'd do it while I was working.
 

Attachments

  • 102_4107.JPG
    102_4107.JPG
    75.3 KB · Views: 101
  • 102_4109.JPG
    102_4109.JPG
    52.7 KB · Views: 101
  • 102_4110.JPG
    102_4110.JPG
    38.9 KB · Views: 106
  • 102_4111.JPG
    102_4111.JPG
    52.5 KB · Views: 105
  • 102_4112.JPG
    102_4112.JPG
    61.9 KB · Views: 105
:D:D

It's great watching your progress H. It's looking good and love the pics with progress reports. Nice set of files as well, hard to get in this part of the world.

:hotsun: :hotsun:
 
So more terrible pictures. I didn't seal the fuselage together, just wanted to see how it looked!
 

Attachments

  • 102_4120.JPG
    102_4120.JPG
    61.7 KB · Views: 113
  • 102_4119.JPG
    102_4119.JPG
    40.5 KB · Views: 108
  • 102_4118.JPG
    102_4118.JPG
    112.2 KB · Views: 106
  • 102_4117.JPG
    102_4117.JPG
    116.4 KB · Views: 111
  • 102_4116.JPG
    102_4116.JPG
    124.2 KB · Views: 101
  • 102_4122.JPG
    102_4122.JPG
    72.9 KB · Views: 112
  • 102_4123.JPG
    102_4123.JPG
    36.5 KB · Views: 109
  • 102_4125.JPG
    102_4125.JPG
    124.1 KB · Views: 112
I went ahead with the halves. I masked them and will let it wait overnight. Boy I need some putty..
 

Attachments

  • 102_4126.JPG
    102_4126.JPG
    78.2 KB · Views: 100
  • 102_4127.JPG
    102_4127.JPG
    70.8 KB · Views: 98
  • 102_4129.JPG
    102_4129.JPG
    42.1 KB · Views: 103
Looks good H. I don't think you'll need much in the way of filler, as the joints look fairly close. I'd use a mixture of talcum powder and Future, run into the joints, then sanded when hard. Mix the stuff so that it looks like porridge, and you should be set to go. Run it into the joints, sparingly, until they are filled. You might need to let the first lot set, which only takes about 30 minuts, before adding more. use an old brush or a cocktail stick to apply the 'porridge'. Much easier and not as messy as that sloppy putty in a tube - and a darned sight cheaper too!
 
Thanks Terry! I have the future, now I need to go look for the talcum powder! I have an early morning tomorrow, 5 a.m. so I am going to go to sleep now :D

G'night Terry and everyone else :D
 
Looks good H. I don't think you'll need much in the way of filler, as the joints look fairly close. I'd use a mixture of talcum powder and Future, run into the joints, then sanded when hard. Mix the stuff so that it looks like porridge, and you should be set to go. Run it into the joints, sparingly, until they are filled. You might need to let the first lot set, which only takes about 30 minuts, before adding more. use an old brush or a cocktail stick to apply the 'porridge'. Much easier and not as messy as that sloppy putty in a tube - and a darned sight cheaper too!

Great tip, thanks!
 
Looks good H. I don't think you'll need much in the way of filler, as the joints look fairly close. I'd use a mixture of talcum powder and Future, run into the joints, then sanded when hard. Mix the stuff so that it looks like porridge, and you should be set to go. Run it into the joints, sparingly, until they are filled. You might need to let the first lot set, which only takes about 30 minuts, before adding more. use an old brush or a cocktail stick to apply the 'porridge'. Much easier and not as messy as that sloppy putty in a tube - and a darned sight cheaper too!

I never heard of that before. Damn if I won't try it soon.

Thanks
 

Users who are viewing this thread

Back