Night Fighter Nut
Master Sergeant
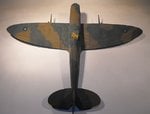
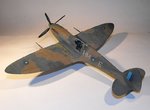
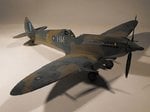
I've got a bit of dusting on my plane as well so will follow for instructions. ")
Follow along with the video below to see how to install our site as a web app on your home screen.
Note: This feature may not be available in some browsers.
Ad: This forum contains affiliate links to products on Amazon and eBay. More information in Terms and rules
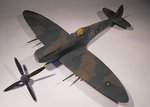
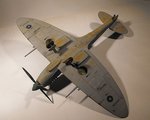
 Looking very sharp sir.
I've always wondered if putting a few drops of sand coloured paint in the dullcoat spray would produce the dusty look but never tried it. Thoughts?
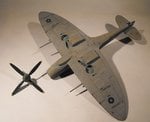
You are the man Terry!! That's looking stupendous sir!