Airframes
Benevolens Magister
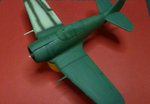
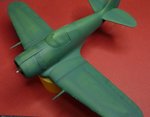
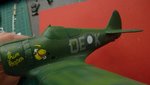
Nice work Peter. Looking forward to seeing the paint going on.
Follow along with the video below to see how to install our site as a web app on your home screen.
Note: This feature may not be available in some browsers.
Ad: This forum contains affiliate links to products on Amazon and eBay. More information in Terms and rules
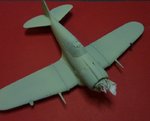
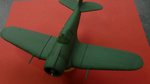
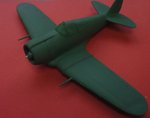
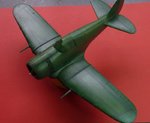
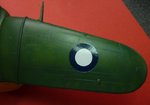
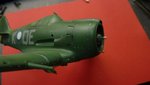
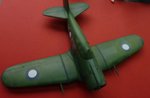
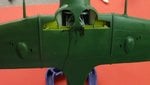
Thanks Buffnut. Not a dumb question. Yes the Boomerang had open wheel wells. As to whether there was a canvas inner cover to stop dirt ending up in the engine and ancillary areas, I have not seen a picture with anything like that. I do have the Overhaul Manual, but again no mention of any inner cover to remove.
Cheers
Peter
")
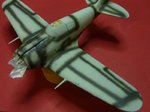
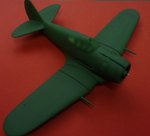
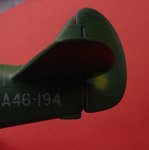
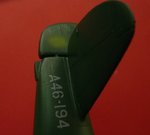
What are the darker patches for? Are you trying to decrease the panel lines?