meatloaf109
1st Lieutenant
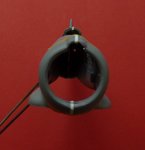
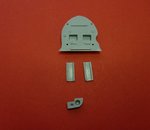
Yep, that magnifying glass is the only thing that keeps me building.
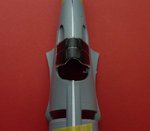
It's looking top notch!
It's looking top notch!
Follow along with the video below to see how to install our site as a web app on your home screen.
Note: This feature may not be available in some browsers.
Ad: This forum contains affiliate links to products on Amazon and eBay. More information in Terms and rules
Yep, that magnifying glass is the only thing that keeps me building.
It's looking top notch!

Peter 9or anyone)
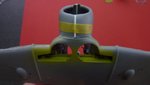
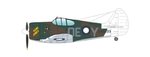
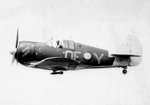
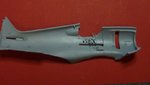
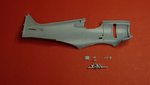
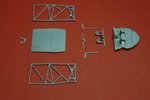
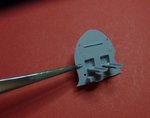
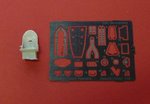
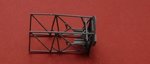
Do you think the cockpit framing struts are finished in the same colour as the rest of the fuslage. Im doing A46199 9home james, and it looks to me that the cockpit framing might be a slightly darker colour to the "forest Green" finish applied to the body. What are your thoughts?