- Thread starter
- #141
Airframes
Benevolens Magister
Even those things which haven't happened yet are Jan's fault!!
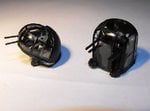
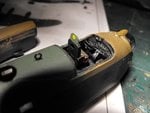
Anyway, a bit more progress has been made. Whilst waiting for the second set of nose-art decals to dry, I painted and assembled the front and rear turrets, although the rear wall of the front turret needs a bit of adjusting. This is one of the very few areas where the kit is let down. The guns are a bit plain, but not bad, but the method of fitting leaves a bit to be desired. The rear guns in particular can only be mounted more or less in one position, and due to this, the barrels seem a little short. If I was to build this kit again, I think I'd either make new barrels (the kit parts don't have the cone-shaped flash suppressors), or buy some 'Quickboost' barrels. One of the front guns has already become dislodged, and it's going to be tricky to reach to cement it firmly in place. Still, at least the turret transparent parts are beautifully clear and thin, helped along wih a coat of 'Klear' (Future), and I'm glad I made the effort to add some internal detail to the otherwise empty units.
So, the new name decals were over-painted in yellow, and applied to the nose, where they promptly cracked and split, then disappeared!
Fast forward to 'Plan C'!
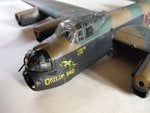
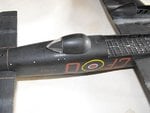
All I could do now was to hand-paint the 'Oozlum Bird' name, with the first letter 'O' being the already applied yellow code letter. Painting yellow on to black, in such a small size and area, was not an enjoyable task, and the results are far from spectacular!
But, it'll have to do, otherwise it'll mean rubbing down, and trying to match-in the paint and varnish in this area. If I was to attempt this again, and definitely when I come to build the 1/48th scale 'Oozlum Bird', I think the best bet would be to print the yellow lettering onto a white decal sheet, and then fill-in the background with black paint, in order to achieve the required density in the yellow lettering. I'd thought about using Corel or Photoshop, and producing a black background, but the density/ tone would be different anyway, and still need painting.
Another lesson learned!
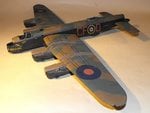
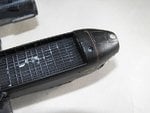
So, onwards, and the model has now been sprayed in an almost matt clear coat, mixed from 'Klear' (Future) and Tamiya Flat Base, to achieve the correct finish for a Lancaster of the period from this production block. The masking has been removed from the few small windows, the bomb aimers lower panel, and the rear of the H2s blister, and a very small amount of re-touching is required in some of these areas, where a bit of black has peeped through.
Over two hours have been spent masking the main canopy, and this will first be painted black, to represent the internal colour of the frames, followed by the relevant camouflage colours.
And that, for now, is it!
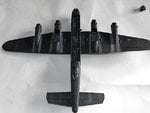
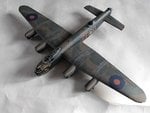
Here's how the bits look do far.

