Airframes
Benevolens Magister
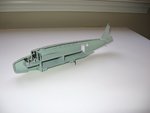
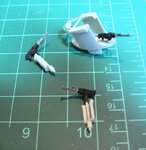
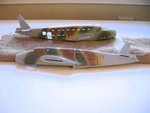
Very nice! It's going to look great when it's all together Dwight.
Follow along with the video below to see how to install our site as a web app on your home screen.
Note: This feature may not be available in some browsers.
Ad: This forum contains affiliate links to products on Amazon and eBay. More information in Terms and rules

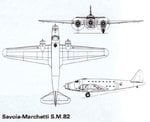
I can only find line drawings front on.
This is the best I could find, but it's not head-on.
Photos: Savoia-Marchetti SM-82PW Canguru Aircraft Pictures | Airliners.net
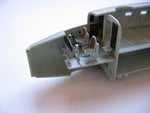
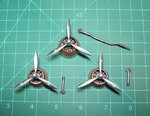
Beautiful!
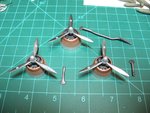
First rate job! I'm glad you picked this one.
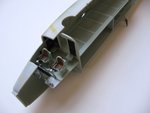
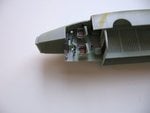
That should make taking the paint off a LITTLE easier.