- Thread starter
- #261
Vic Balshaw
Major General
Thanks Bill.
Look what Postman Pat delivered today, my lovely lights all the way from the USA and only ordered on 30 Dec. Real express service and post free.
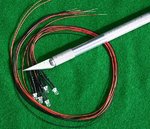
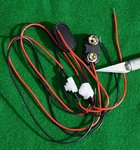
These little fellows are 3mm wide and come in a variety of colours in normal light, fast flash or normal flash. Each light has a small dropping resistor that keeps the voltage down so they can be used individually or in groups leading from the one wire connected to a 9 volt battery. These ones are also supplied with 14 inch cable on each lamp. I also got a couple of battery connections with built in switch.
As for work on the Cat, here are a couple of progress updates shots
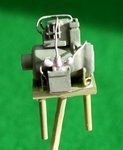
The APU and yes Bill (Night Fighter Nut) it is an old capacitor probably stolen from a PC Board I found laying around.
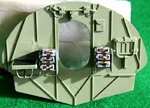
The bulkhead between the side blister gunners and the forward end of the aircraft, showing the scratch built ammunition canisters and stowage racks.
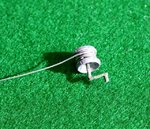
This little fellow is the anchor winch which sits inside the anchor locker (it will be open). One would think that they could have fitted a mechanical one and not leave it to the poor crew members to haul is on board.
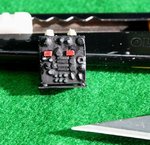
Last up the main radio cabinet which has huge wires poking out the top just like Frankenstein. Hopefully this one will stay static during lightning storms.......................

Look what Postman Pat delivered today, my lovely lights all the way from the USA and only ordered on 30 Dec. Real express service and post free.


These little fellows are 3mm wide and come in a variety of colours in normal light, fast flash or normal flash. Each light has a small dropping resistor that keeps the voltage down so they can be used individually or in groups leading from the one wire connected to a 9 volt battery. These ones are also supplied with 14 inch cable on each lamp. I also got a couple of battery connections with built in switch.
As for work on the Cat, here are a couple of progress updates shots

The APU and yes Bill (Night Fighter Nut) it is an old capacitor probably stolen from a PC Board I found laying around.

The bulkhead between the side blister gunners and the forward end of the aircraft, showing the scratch built ammunition canisters and stowage racks.

This little fellow is the anchor winch which sits inside the anchor locker (it will be open). One would think that they could have fitted a mechanical one and not leave it to the poor crew members to haul is on board.

Last up the main radio cabinet which has huge wires poking out the top just like Frankenstein. Hopefully this one will stay static during lightning storms.......................

Last edited:


 ............ No offence Jan old chap, you know we all love ya..............